CocoaPodsでLicensePlistを使う
LicensePlistの導入方法で検索すると間違った情報が上の方に表示されてちょっとハマったので、導入方法をまとめます。
Podfile
LicensePlistはLicense表記用のライブラリなのでRxSwiftとRxCocoaをサンプルとして入れています。
  pod 'RxSwift'
  pod 'RxCocoa'
  pod 'LicensePlist'
podfileの編集が終わったら以下のコマンドでライブラリをインストールします。
pod installRunScriptの作成
ビルド時にSetting.bundleの自動生成(ライセンスを表記するやつ)を行うためRunScriptにスクリプトを記述します。
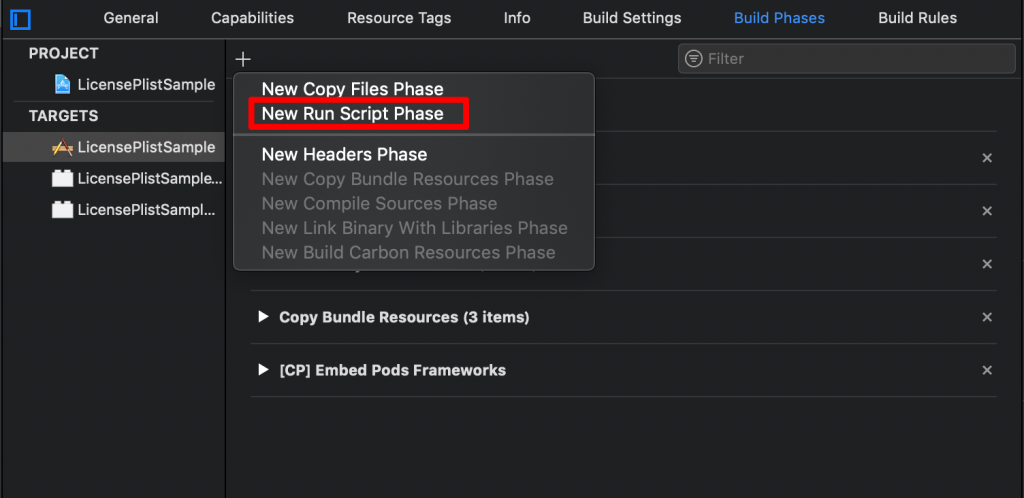
Build Phases > New Run Script PhaseでRun Scriptを作成
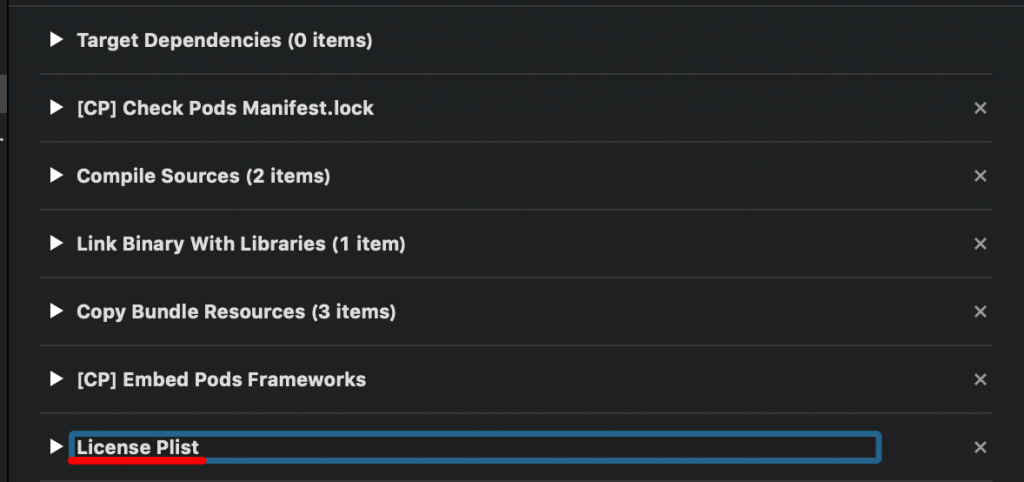
Run Scriptが1つだけなら名前を変更しなくてもわかるので大丈夫ですが、SwiftLintやSwiftformatなどRun Scriptで実行する処理が増えた時にわかりやすいようファイル名を修正します。
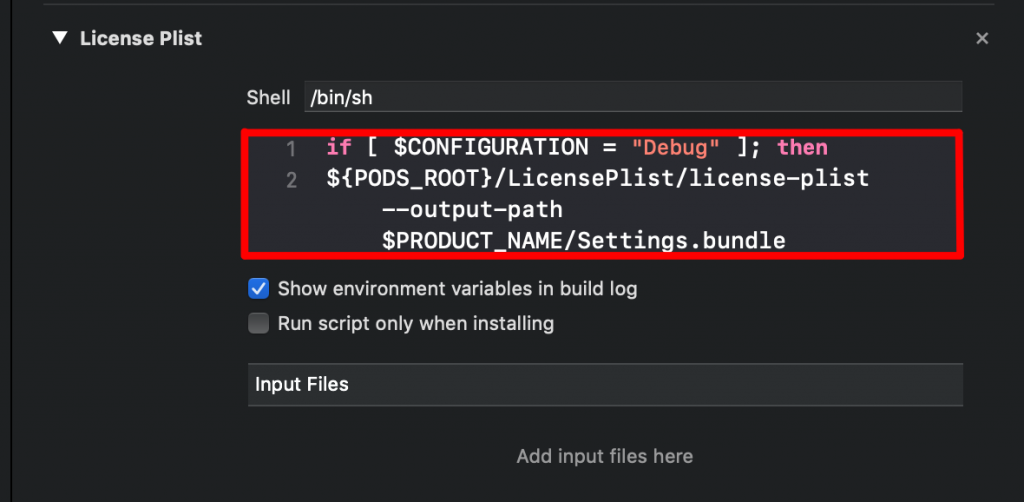
以下のスクリプトをそのままコピペします
if [ $CONFIGURATION = "Debug" ]; then
${PODS_ROOT}/LicensePlist/license-plist --output-path $PRODUCT_NAME/Settings.bundle --github-token YOUR_GITHUB_TOKEN
fi
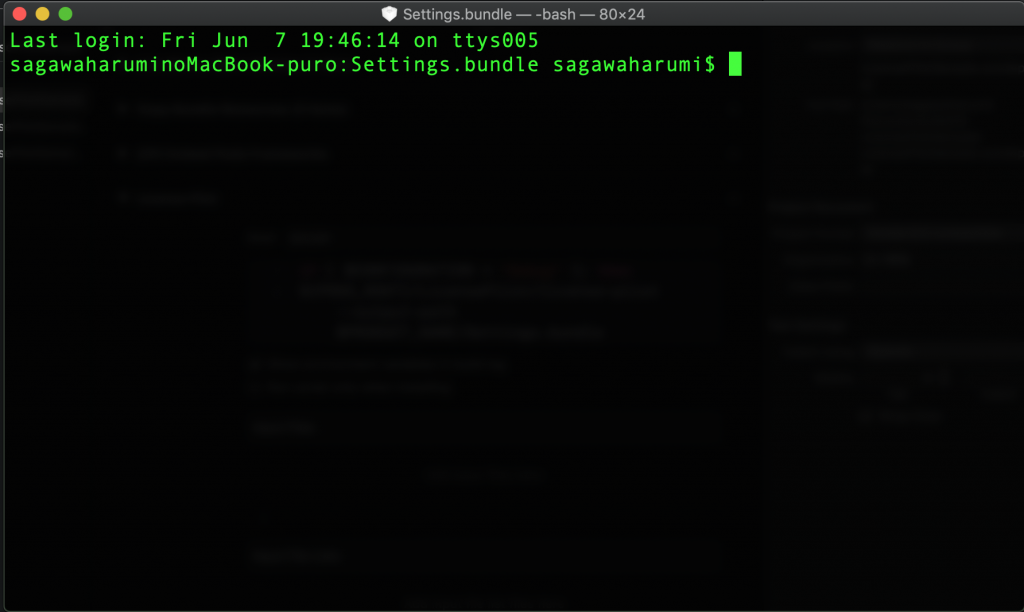
ここまでの手順が終わったらビルドを行います。
問題がなければLicense PlistがSetting.bundleの自動生成を行うターミナル餓起動します。
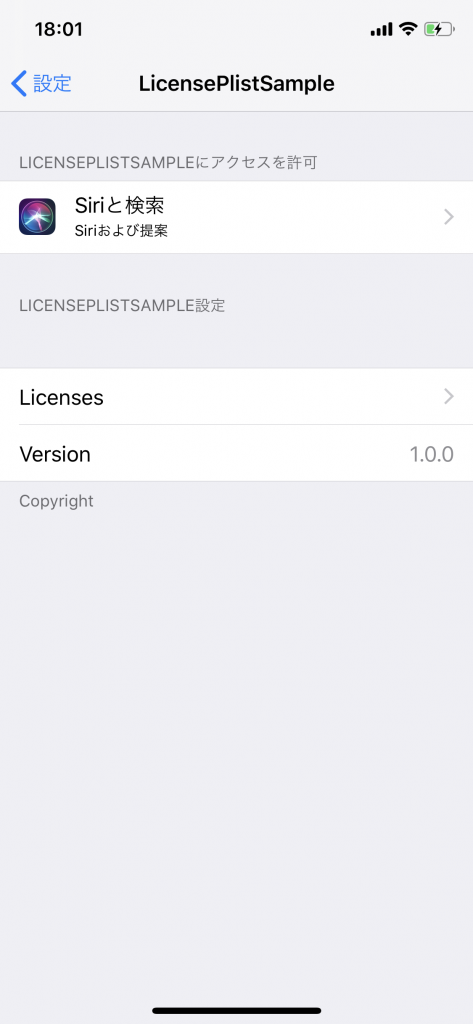
設定画面への表示
Root.plistの作成
プロジェクト直下に新規でProperty ListをRoot.plistという名前で作成します。


作成したらテキストエディタなどでRoot.plistを開き以下のxmlに書き換えます。
<?xml version="1.0" encoding="UTF-8"?>
<!DOCTYPE plist PUBLIC "-//Apple//DTD PLIST 1.0//EN" "http://www.apple.com/DTDs/PropertyList-1.0.dtd">
<plist version="1.0">
<dict>
	<key>PreferenceSpecifiers</key>
	<array>
		<dict>
			<key>Type</key>
			<string>PSGroupSpecifier</string>
			<key>FooterText</key>
			<string>Copyright</string>
		</dict>
		<dict>
			<key>Type</key>
			<string>PSChildPaneSpecifier</string>
			<key>Title</key>
			<string>Licenses</string>
			<key>File</key>
			<string>com.mono0926.LicensePlist</string>
		</dict>
		<dict>
			<key>Type</key>
			<string>PSTitleValueSpecifier</string>
			<key>DefaultValue</key>
			<string>1.0.0</string>
			<key>Title</key>
			<string>Version</string>
			<key>Key</key>
			<string>sbVersion</string>
		</dict>
	</array>
	<key>StringsTable</key>
	<string>Root</string>
</dict>
</plist>
Setting.bundleをプロジェクト内に追加
プロジェクトファイル直下にSetting.bundleが自動生成されているはずなので、Xcode上で見えるように入れ直します。

プロジェクト内に入ったら、以下の画像のようにRoot.plistをSetting.bundle直下に移動させます。
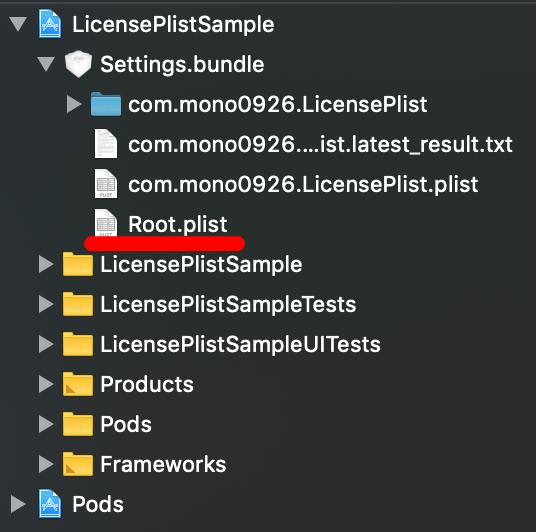
ここまでの手順に間違いがなければあとはビルドするだけで設定画面にLicenseを表記することができます。
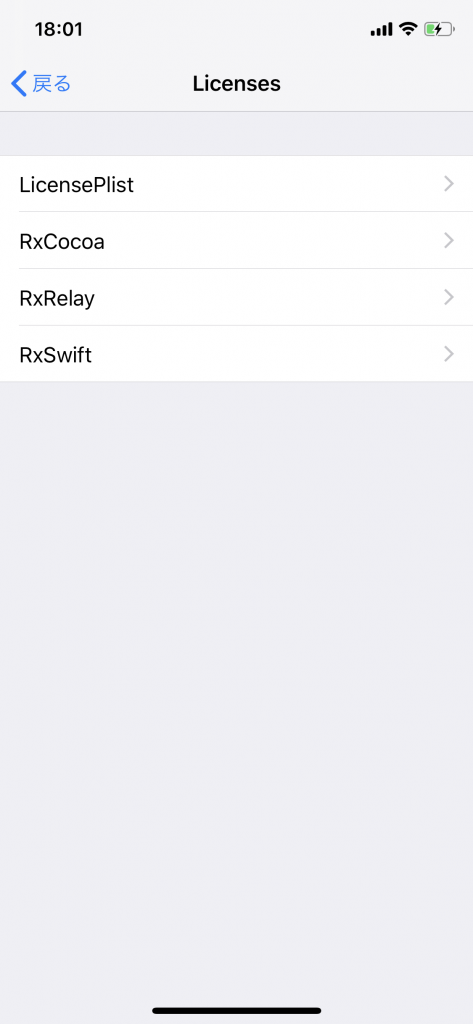
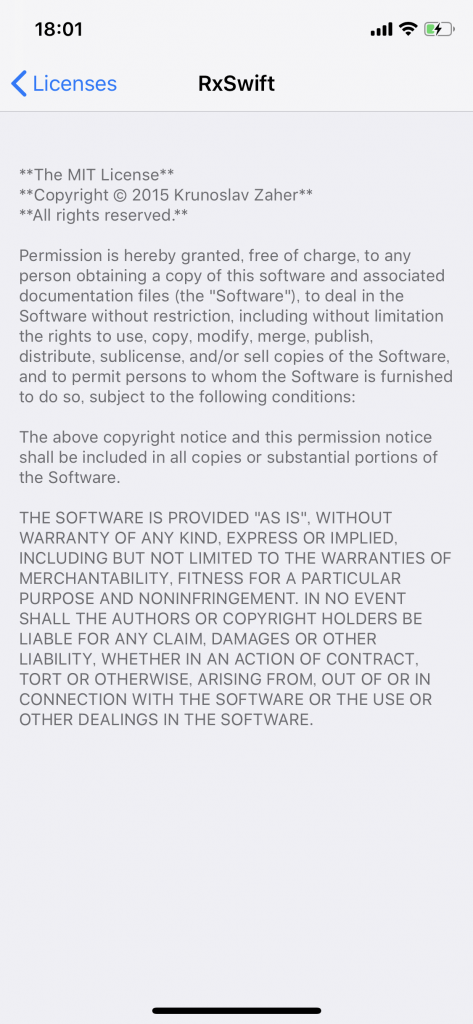
設定画面のLicnse表示