Viewからの距離をAutoLayoutでつける
はじめに
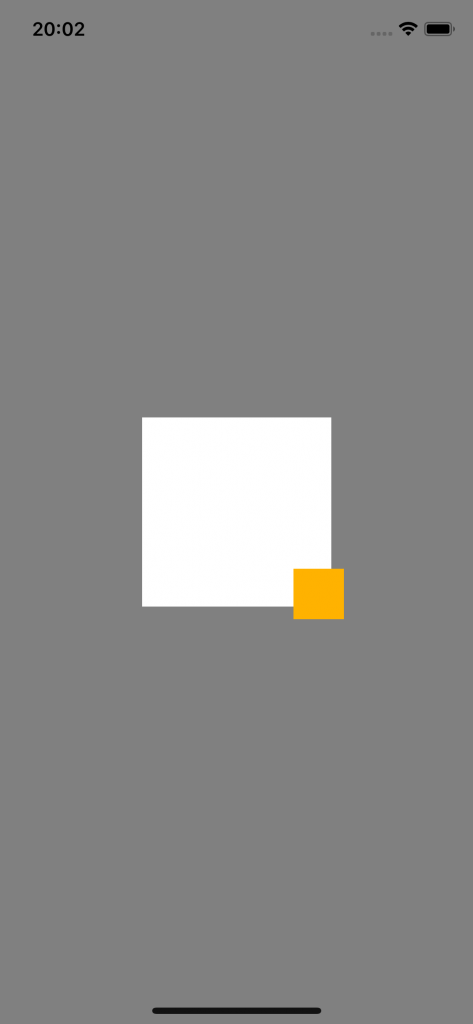
今回は画像のようなデザインを実現する際に, AutoLayoutで制約をつける方法を解説します。知ってると便利です!
制約のつけ方
ベースになるViewを配置
まず下になるViewに適当に制約をつけておきます。今回はシンプルに画面の中心で150×150で作成しました。
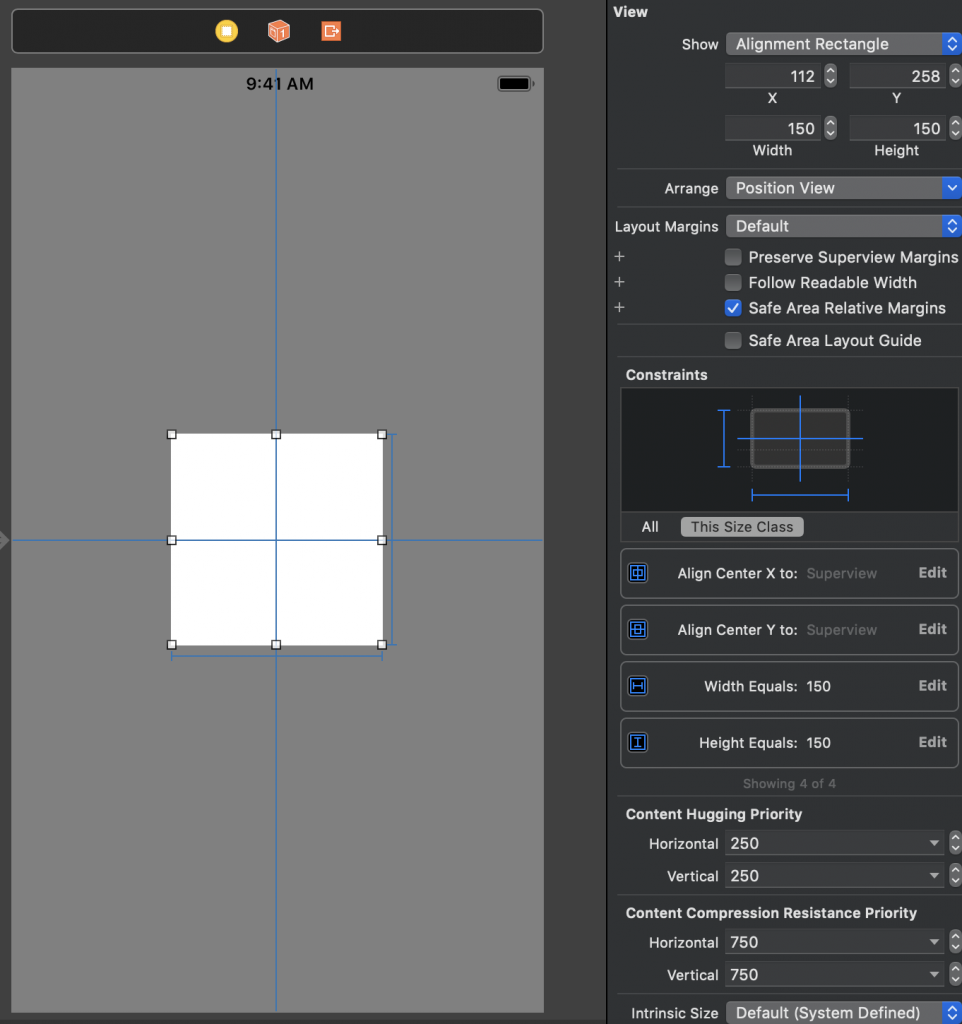
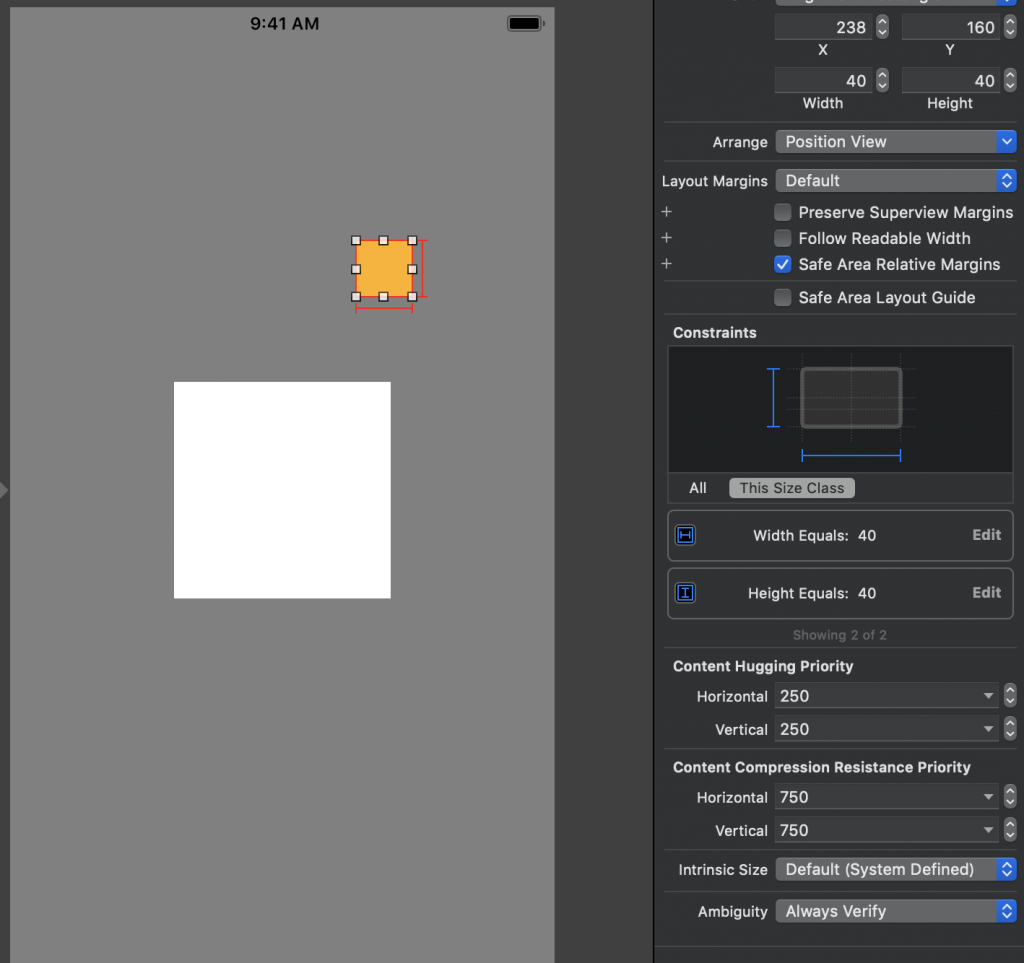
上に乗るviewを作成
上に乗せるViewの作成です。白だとみにくいので背景色を設定しておきました。
制約はViewの大きさを40×40で設定しています。
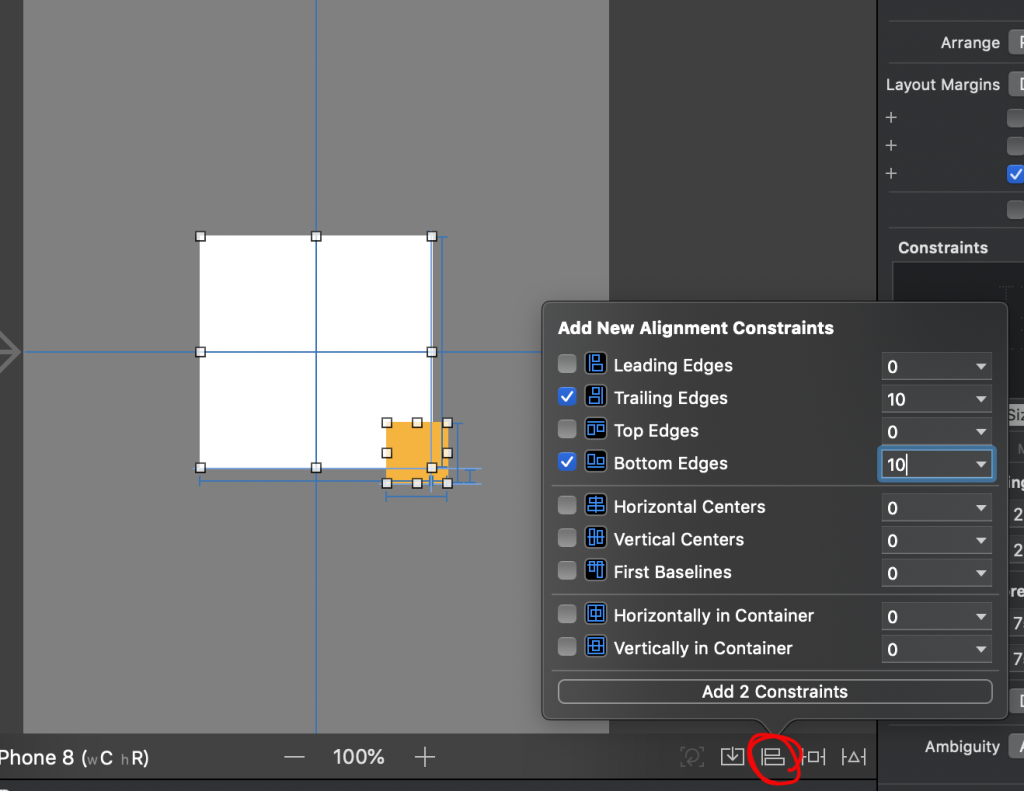
重なる制約をつける
2つのViewを選択して、右から3番目のアイコンをクリックします。
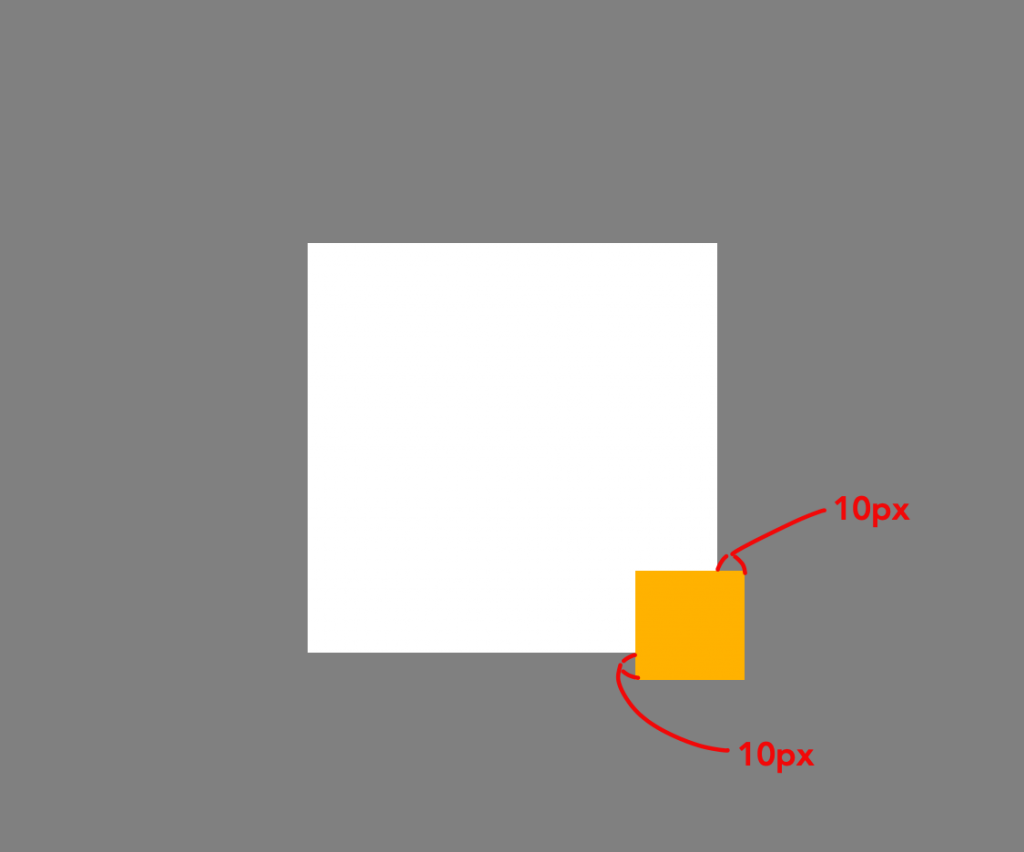
右下に配置したいのでTrailing EditsとBottomEditsをチェックして10ピクセルずらしています。
ビルドしてみる
白いViewから右下10ピクセルずつはみ出して配置することができました!