[Swift4]CustomCellミニマムサンプル
CustomCellを使うシンプルな解説記事が見つからなかったのでCustomCellの使い方をできるだけ端的にわかりやすく丁寧に最低限のコードで解説します。
実行環境
xcode: Version 10.1 (10B61)
swift: version 4.2.1
CustomCell
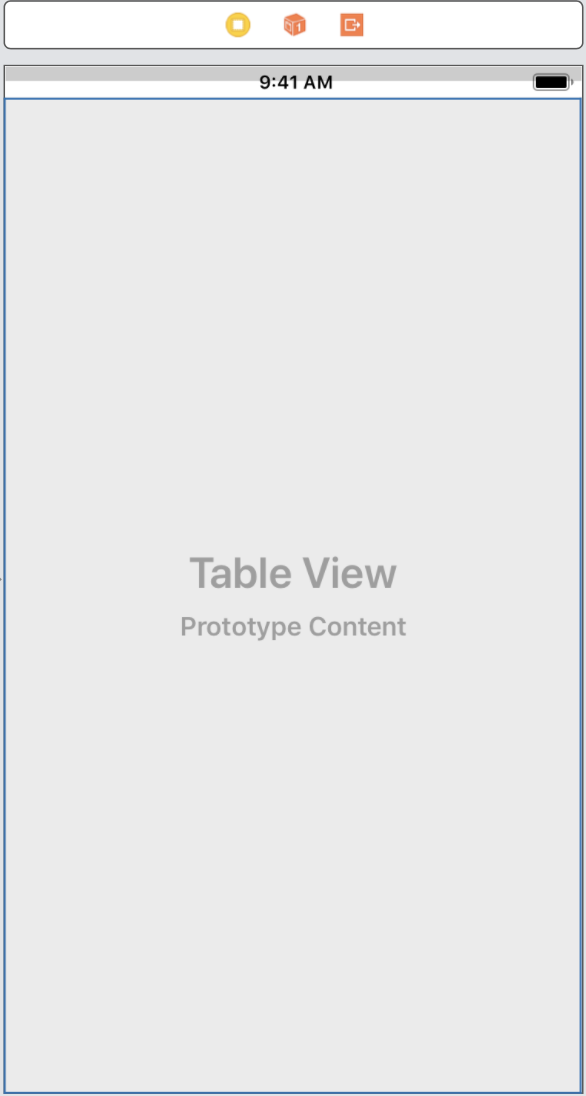
①StoryBoardにTableViewを貼り付ける

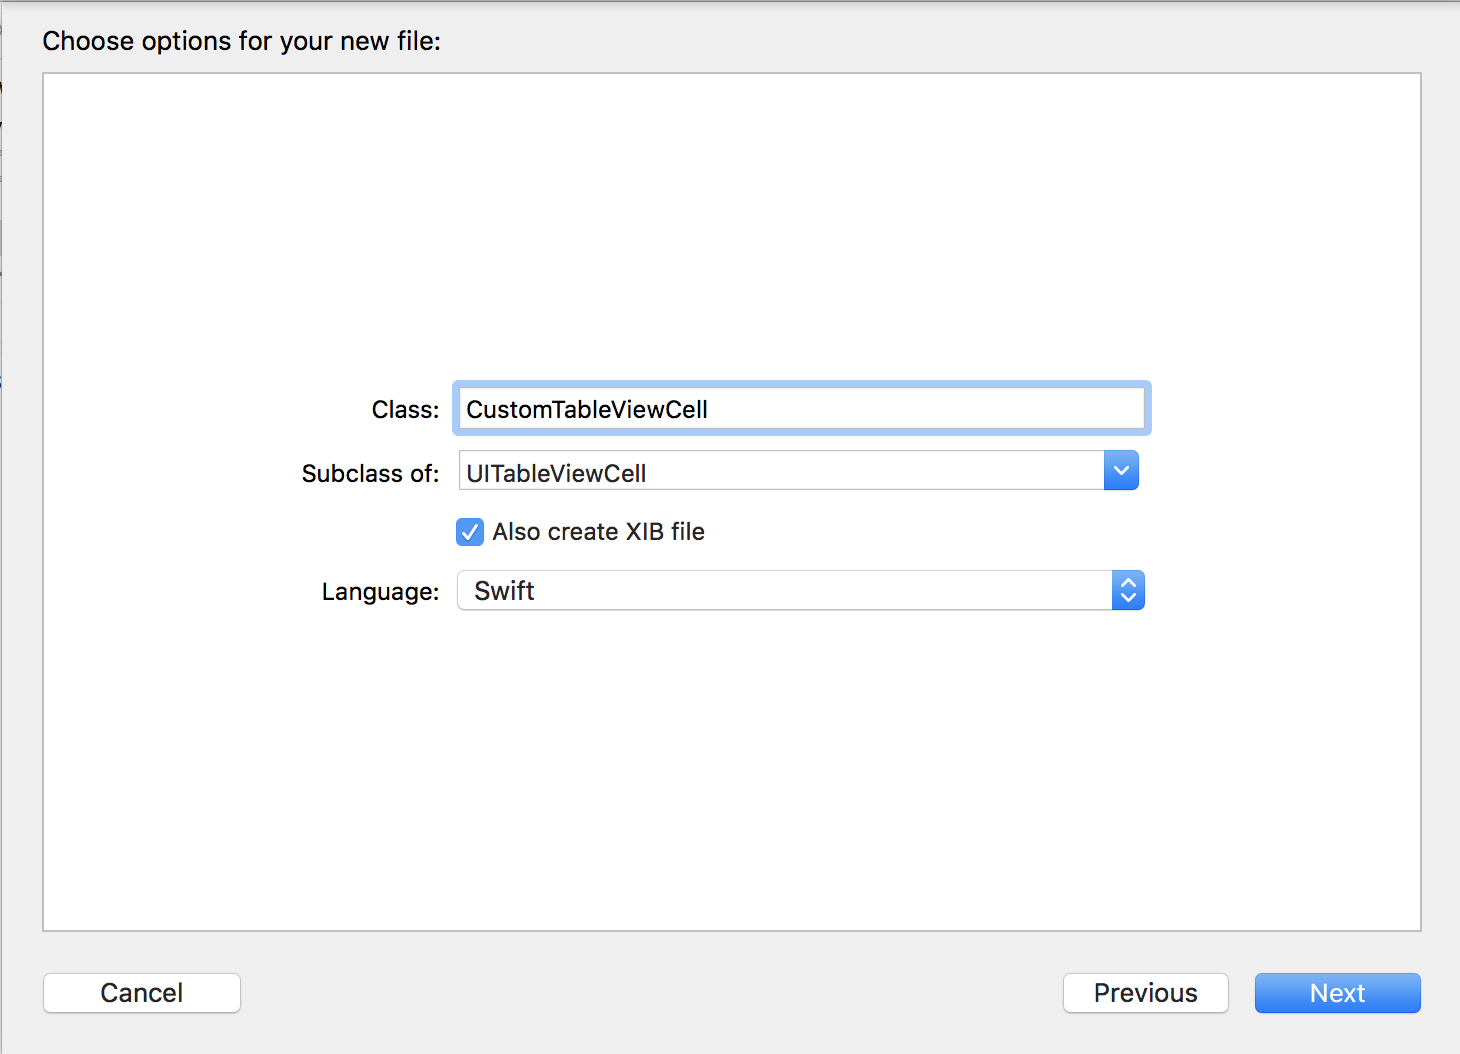
②CustomCellクラスを作成(Xibも一緒に)
customCellクラスを作成します。
※Also create XIB fileにチェックを入れてください

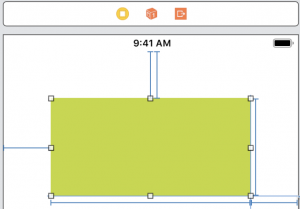
③Cellのレイアウトを適当に作成

④CellクラスとUIを紐付け
cellの値を変更するUIとcellクラスの紐付けをします。
値をセットするメソッドも作ります。
import UIKit

class CustomTableViewCell: UITableViewCell {

    @IBOutlet weak var button: UIButton!
    @IBOutlet weak var label: UILabel!

    //値を設定するメソッド
    func setData(buttonText: String, labelText: String){
        button.setTitle(buttonText, for: .normal)
        label.text = labelText
    }
}
⑤TableViewの紐付けとセルの設定
delegateやregisterはviewDidLoadに書かれている記事が多いですが、didSetに書いた方がスッキリして個人的に好きです。
コードはコメントを入れておいたのでつまるところはないと思います。
import UIKit

class ViewController: UIViewController {

    @IBOutlet weak var tableView: UITableView! {
        didSet {
            tableView.delegate = self
            tableView.dataSource = self
            //nibNameはCustomCellのクラス名、forCellReuseIdentifierは適当なcellを使うときに判別するkey
            tableView.register(UINib(nibName:"CustomTableViewCell", bundle: nil),forCellReuseIdentifier:"customCell")
        }
    }
    var misoSoup:[String]!

    override func viewDidLoad() {
        super.viewDidLoad()
        misoSoup = ["しじみの味噌汁", "なめこの味噌汁", "トマトの味噌汁"]
    }
}

extension ViewController:UITableViewDelegate, UITableViewDataSource {
    //セルを何個出すか
    func tableView(_ tableView: UITableView, numberOfRowsInSection section: Int) -> Int {
        return misoSoup.count
    }

    //indexpath.rowに何個めのセルなのかが入っている
    func tableView(_ tableView: UITableView, cellForRowAt indexPath: IndexPath) -> UITableViewCell {
        //withIdentifierはregisterで設定したkeyを入れる
        let cell = tableView.dequeueReusableCell(withIdentifier: "customCell") as! CustomTableViewCell
        cell.setData(buttonText: "作る", labelText: misoSoup[indexPath.row])
        return cell
    }
}
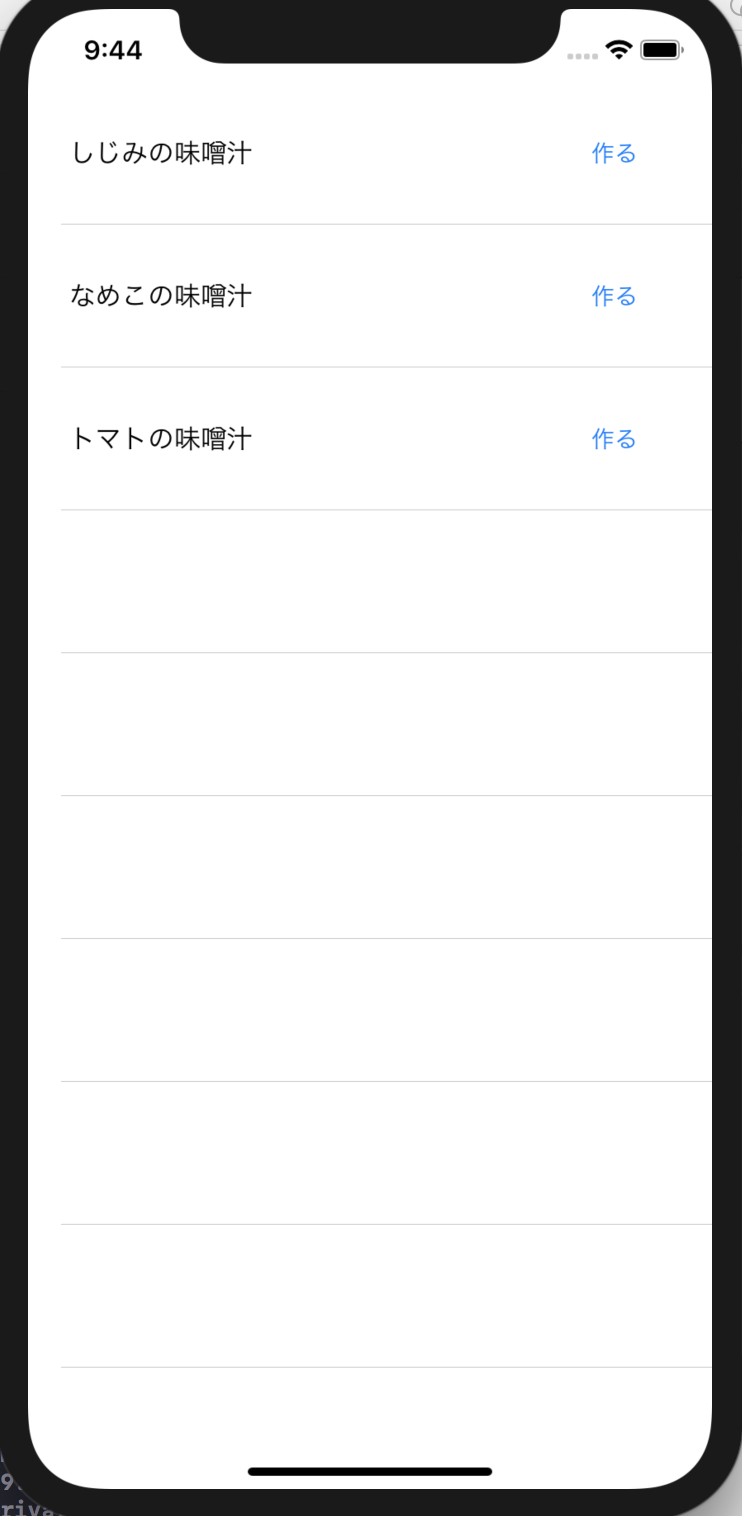
⑥ビルド結果
画像のようなリストが表示されていたら成功です。

CustomCellのボタンタップ
何番目のボタンがタップされたのかを取得する方法を記事にまとめました。

